Introduction
Welcome to the fascinating world of sensor-driven innovation! In our latest blog, we invite you to explore the possibilities of environmental monitoring and interacting with Arduino with the BMP180 pressure sensor, a project that opens the door to creative projects. In this introduction, we lay the foundation for your journey by highlighting the importance of this partnership and the exciting prospects it brings. Whether you're a hobbyist or a curious beginner, join us as we dive into the heart of sensor technology, where Arduino and BMP180 come together to create integrated information and creativity. Get ready to unlock the potential of this integrated circuit and bring your Arduino projects to life like never before.
Components
To connect the BMP180 pressure sensor to the Arduino you will need the following components:
Arduino UNO

Arduino uno is an open-source microcontroller board based on the processor ATmega328P. 6 analog pin inputs, 14 digital pins, a USB connector, a power jack and an ICSP (in-Circuit Serial Programming) header.
One of its notable features is the USB interface, enabling easy programming and serial communication. The board can be powered via USB or an external supply (7-12V), with an onboard voltage regulator ensuring a stable 5V supply. A reset button allows for program restarts, and built-in LEDs, including a power indicator and one on pin 13, offer visual feedback.
BMP180 Pressure Sensor

The BMP180 Pressure Sensor is a compact and precise module designed for measuring atmospheric pressure and temperature. It features a digital I2C interface for easy integration with microcontrollers like Arduino, operates with low power consumption, and includes built-in calibration data for accurate readings. With applications ranging from weather stations to altitude measurement, the BMP180 is widely used in various electronic projects and is popular for its simplicity and reliability.
Check out our collection of sensor at best prices!
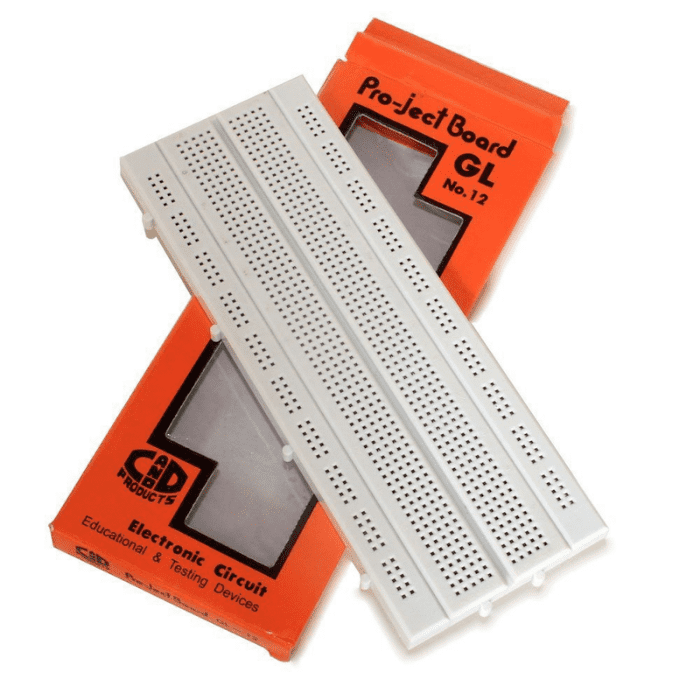
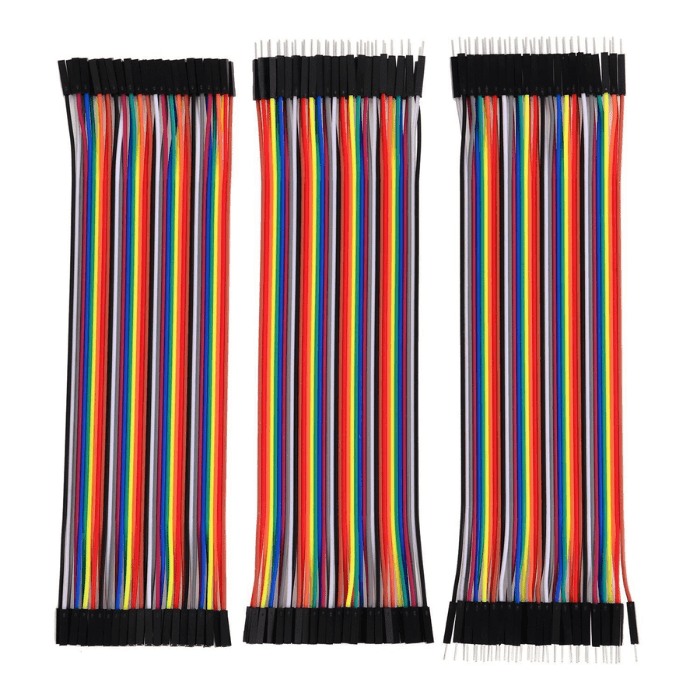
Breadboards and Jumper Wires

Used to create temporary circuits and connect things that don't have connections.
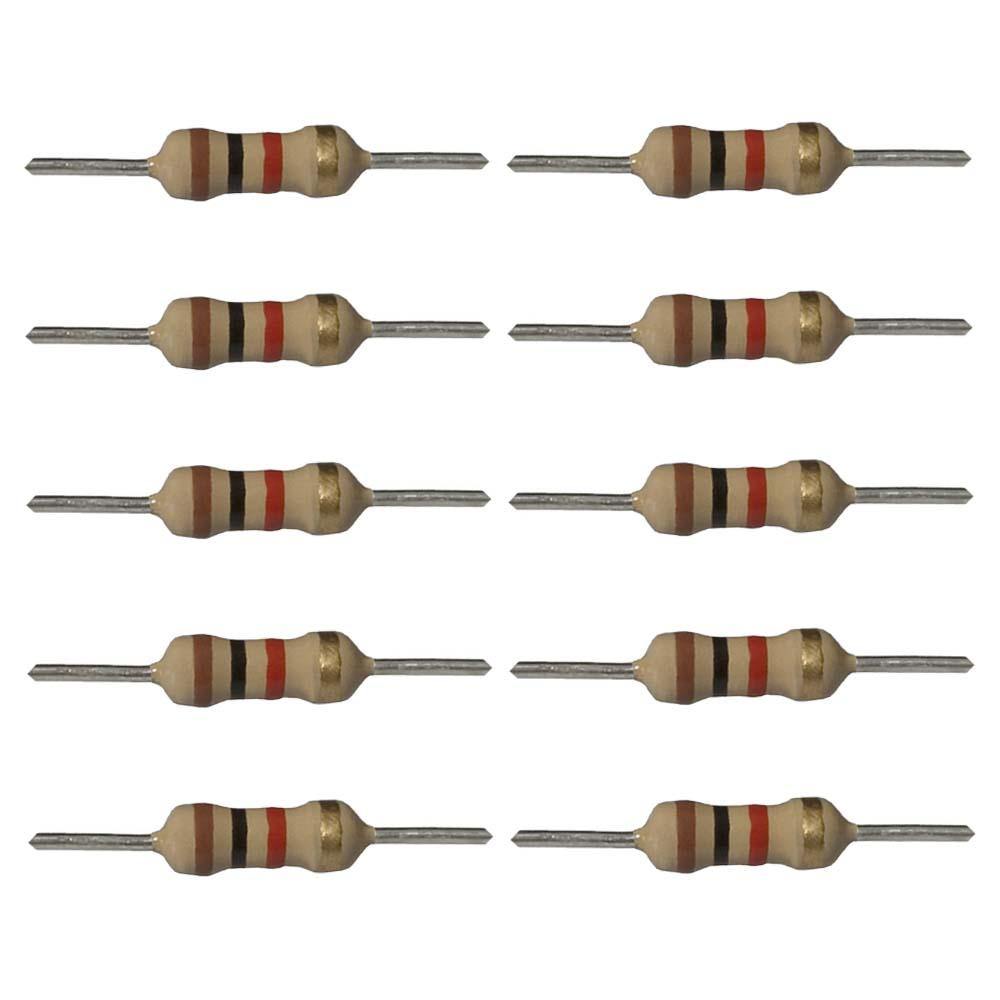
10k ohm resistor

A 10k ohm resistor is a fixed resistor with a resistance value of 10,000 ohms, commonly represented by the colour code brown-black-orange. It is widely used in electronic circuits for various applications such as voltage dividers, current limiting, and biasing components. The resistor's role is to control or modify the flow of electrical current in a circuit. Its colour bands provide a visual indication of its resistance value, and it follows Ohm's Law for calculating voltage, current, and resistance in a circuit.
Arduino IDE: The Development Environment (IDE) is used to write, compile, and send program code to the Arduino board. USB Cable: Connect the Arduino board to your computer for operation and power.
Connections
|
BMP180 Pin |
Connection |
Arduino Pin/Component |
|
VCC |
3.3V |
3.3V on Arduino |
|
GND |
Ground |
GND on Arduino |
|
SDA |
Data |
A4 on Arduino |
|
SCL |
Clock |
A5 on Arduino |
|
XCLR |
10k ohm Resistor |
3.3V on Arduino |
Ensure that the connections are made accurately, and the 10k ohm resistor is correctly placed between the XCLR pin and the 3.3V on the Arduino. This table serves as a quick reference guide for setting up the circuit.

Arduino Code:
#include

#include

Adafruit_BMP085 bmp;

void setup() {

 Serial.begin(9600);

   if (!bmp.begin()) {

    Serial.println("Could not find a valid BMP180 sensor, check wiring!");

    while (1)

}

}

void loop() {

  Serial.print("Pressure: ");

  Serial.print(bmp.readPressure());

  Serial.print(" Pa, ");

  Serial.print("Temperature: ");

  Serial.print(bmp.readTemperature());

  Serial.println(" *C");

 delay(1000);  // Pause for 1 second

}
Explanation:
Library installation:
- Open Arduino IDE and go to Sketch > Include Library > Manage Libraries.
- In the Library Manager, search for Adafruit BMP085 or Adafruit BMP180.
- Select the library and click Install to download and install it.
- Confirm successful installation and access example sketches under File > Examples > Adafruit BMP085/BMP180.
Read our blog IR sensor Arduino code for Interfacing IR Sensor Module with Arduino where we explain Arduino Code and steps in uploading the code to the Arduino board.
Setup Function:
The setup function in Arduino is a special task that is done once in the beginning of the program. It is usually used to initiate the installation and configuration required by the main program. In the given code to connect to the BMP180 sensor, Serial.begin(9600) initiates serial communication for monitoring and bmp.begin() checks whether the sensor is connected or not. If the sensor is not found, an error message is printed, and the program enters an infinite loop.
Loop Function:
It reads the air pressure from the BMP180 sensor and prints the pressure value in Pascal on the display. At the same time, it reads the temperature from the BMP180 sensor and prints the temperature value in Celsius on the meter. The current data release provides information about the surrounding environment. A break of one or two seconds should be taken between readings to control the flow of information. This ensures stability and readability of data at high and low temperatures, preventing the serial monitor from being stressed by constant updates.
Conclusion:
In conclusion, the completion of the BMP180 Pressure Sensor project marks a significant milestone in the journey of electronic exploration. As we reflect on the intricacies and achievements of this endeavor, it becomes evident that this project extends beyond a mere demonstration of sensor integration with Arduino. It encapsulates a gateway to a broader understanding of environmental monitoring and the vast possibilities within the field of electronics. With the code seamlessly uploaded and tested, the unveiling of real-time atmospheric data through the Serial Monitor serves as a gratifying moment of realization. The continuous and precise readings of atmospheric pressure and temperature not only underscore the effectiveness of the BMP180 sensor but also offer valuable insights into the dynamic nature of the environment we inhabit.