What is IR Sensor?
An IR sensor is a device that measures the Infrared radiation in its surroundings and gives an electric signal as an output. An IR sensor can measure the heat of an object as well as can detect the motion of the objects.
IR technology serves a variety of functions in both industry and daily life.
TVs, for example, employ IR sensors for decoding signals sent by remote controls. The key advantages of infrared sensors are their low power consumption, straightforward construction, and practical properties.
IR signals are not noticeable by the human eye. The IR radiation in the electromagnetic spectrum can be found in the regions of the visible & microwave.

Usually, the wavelengths of these waves range from 0.7 µm to 1000µm. The IR spectrum can be divided into three regions near-infrared, mid, and far-infrared.
The near IR region’s wavelength ranges from 0.75 – 3µm, the mid-infrared region’s wavelength ranges from 3 to 6µm & the far IR region’s infrared radiation’s wavelength is higher than 6µm.
As the Infrared Radiation is invisible to our eyes, it can be detected by the Infrared Sensor. An IR sensor is a photodiode that is sensitive to IR light.
When IR light falls on the photodiode, the resistances and the output voltages will change in proportion to the magnitude of the IR light received.
read more : Top 10 Arduino Projects to Get Started With
Types of IR Sensors
- Active IR Sensor.
- Passive IR Sensor.
1. Active IR Sensor
Active infrared sensors generate and detect infrared radiation. Active IR sensors are made up of two parts: a light-emitting diode (LED) that transmits infrared radiation and a photodiode that receives infrared radiation.
When an object approaches the sensor, the infrared light from the LED bounces off the item and is recognized by the receiver.
Active IR sensors act as proximity sensors, and they are commonly used in obstacle detection systems (such as in robots).
2. Passive IR Sensor
Passive infrared (PIR) sensors detect infrared radiation but do not emit it via an LED. PIR sensors are most typically utilized for motion detection in home security systems.
When a moving item emitting infrared radiation approaches the detector's detecting range, the IR level difference between the two pyroelectric elements is monitored.
The sensor subsequently transmits an electrical signal to an embedded computer, which activates an alert.
How Does an IR Sensor Module Work
As we know till now that the active IR Sensors emit Infrared waves and as-well-as detect the Infrared ways.
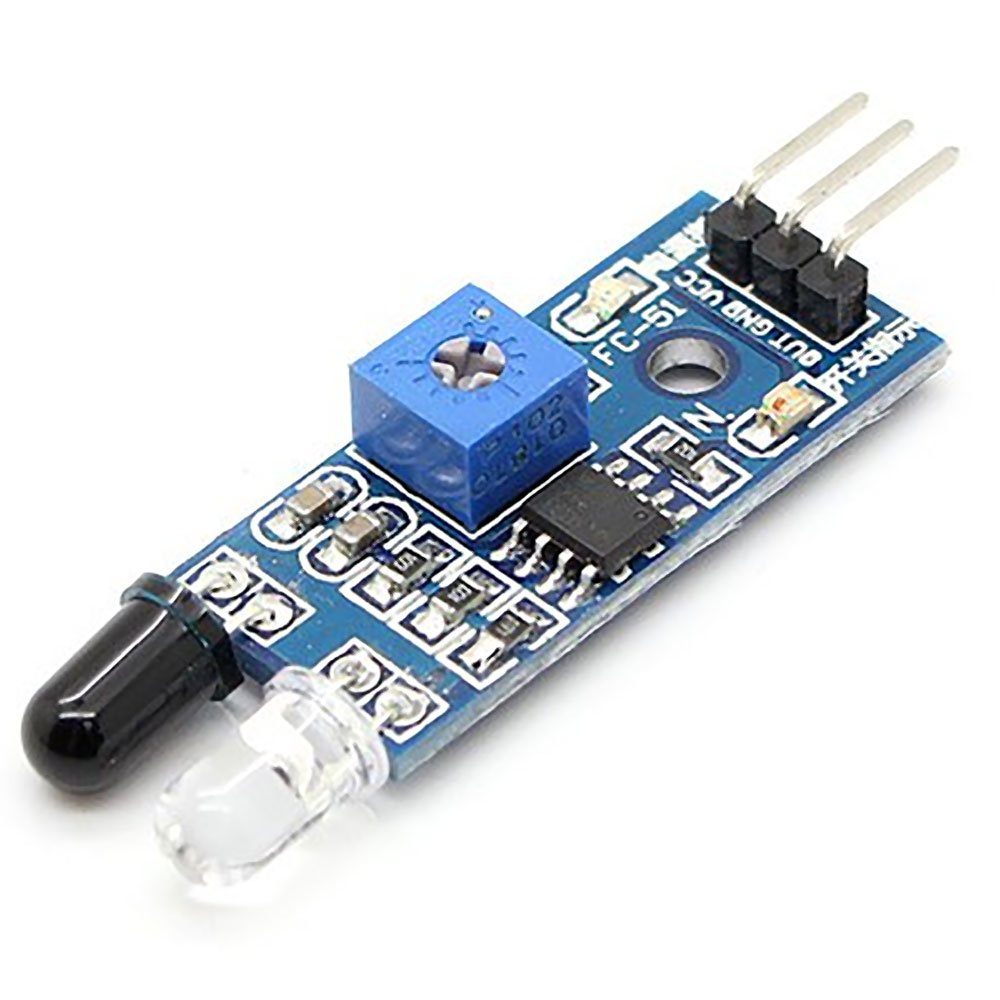
The IR sensor module exactly works on the same phenomenon. The IR Sensor module contains an Infrared LED and an infrared photodiode.
read more : Which Arduino Board to Buy
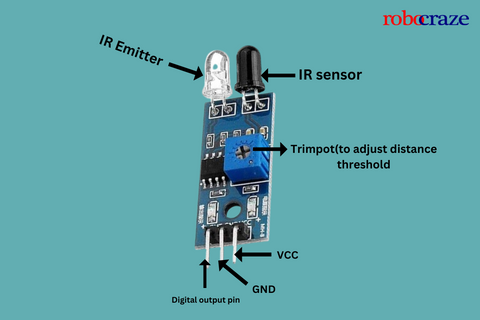
Infrared LED
The Infrared LED looks the same as a normal LED. But the Infrared LED emits light that is invisible to the naked eyes.
Whenever the electricity is given to the Infrared LED. it emits infrared light.
Infrared Photodiode
The IR photodiode will be black in color as shown in the picture above. Whenever Infrared waves are applied to the Infrared photodiode, in result the Infrared photodiode changes its resistance, which causes a change in the output voltages.
read our blog explaining the infrared sensor working, which provides a comprehensive exploration of the working principles, types, advantages, and applications of infrared sensors.
Interfacing IR Sensor Module with Arduino
Hardware Required
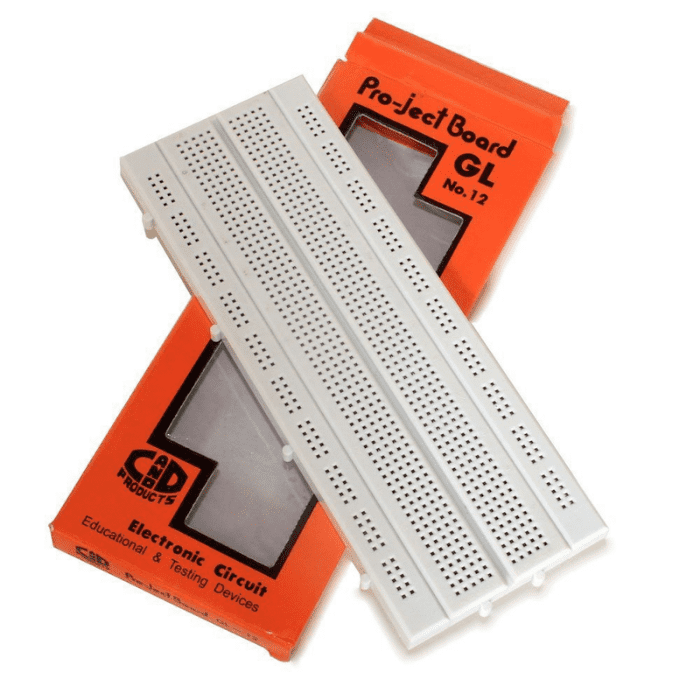
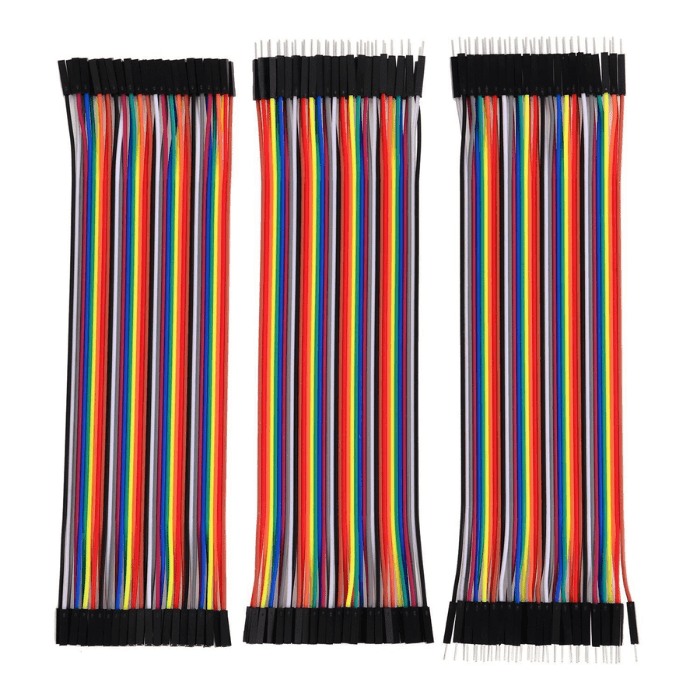
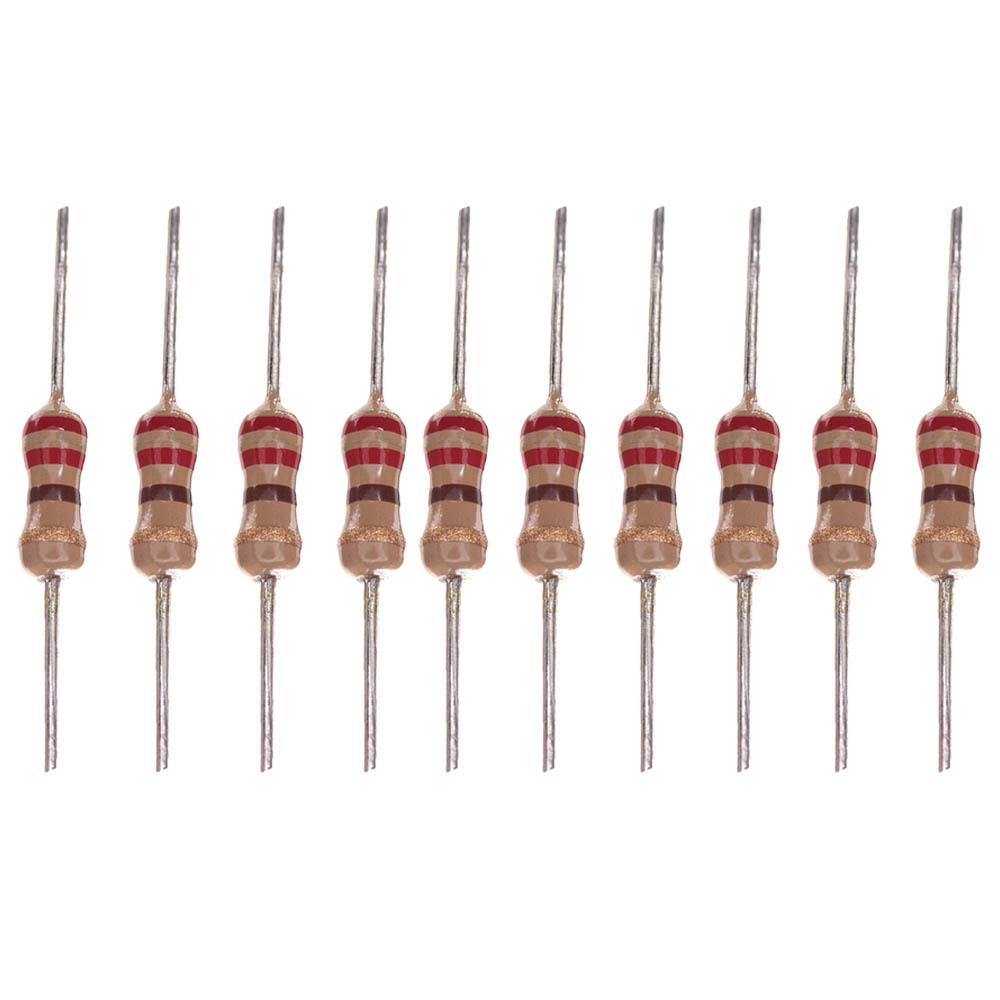
We need the following components for interfacing Arduino IR sensor:

read more : What is Arduino UNO
Building Circuit IR Sensor and Arduino
|
5V pin of the Arduino |
VCC pin of IR Sensor module |
|
GND pin of Arduino |
GND pin of IR sensor module |
|
Pin 10 of Arduino |
OUT pin of IR sensor module |
|
Pin 13 of Arduino |
One of the pins of Resistor |
|
Empty pin of Resistor |
Positive pin of the LED |
|
Negative pin of the LED |
GND pin of Arduino |
Once, the connection are made as per the given steps above, let’s write a IR Sensor Arduino code and upload it to the Arduino board.
Arduino Code for Interfacing IR Sensor Module with Arduino
<pre><code>int LEDpin = 13;
int obstaclePin = 10;
int hasObstacle = LOW; // LOW MEANS NO OBSTACLE
void setup() {
pinMode(LEDpin, OUTPUT);
pinMode(obstaclePin, INPUT);
Serial.begin(9600);
}
void loop() {
hasObstacle = digitalRead(obstaclePin);
if (hasObstacle == HIGH) {
Serial.println("Stop something is ahead!!");
digitalWrite(LEDpin, HIGH);
}
else {
Serial.println("Path is clear");
digitalWrite(LEDpin, LOW);
}
delay(200);
}
</code></pre>
Uploading the code to the Arduino board:
Step 1: Connect the Arduino board to the PC with a USB cable.
Step 2: Next, enter the code stated previously.
Step 3: Select the correct board and port.
Step 4: Run the code to program the Arduino.
Step 5: The LED will glow when any obstacle is detected by the IR sensor.
IR Sensor Arduino Code Explanation:
Firstly, the pins are declared using an int datatype variable LED and assigned pin 13 to it.
And created one more int variable obstaclePin and assigned pin 10 to it, And by using an integer type variable hasObstacle we are declaring the state of an obstacle as LOW by default.
int LEDpin = 13;
int obstaclePin = 10;
int hasObstacle = LOW; // LOW MEANS NO OBSTACLE
Next we have a void setup() function. The void setup function runs only once in the program. In the void setup() function, we will declare the pins as output or input to the Arduino by using the pinMode function.
In the pinMode function, the devices connected to Arduino is either input or output device. In the code, we have 2 pinMode functions in which we are declaring LED as OUTPUT and IR pin i.e.,
obstaclePin as INPUT. And we have Serial.begin function, this is used to tell Arduino that to start data transmission between Arduino and the computer.
void setup() {
pinMode(LEDpin, OUTPUT);
pinMode(obstaclePin, INPUT);
Serial.begin(9600);
}
Next, we have void loop() function, which runs infinitely in the program. In the void loop() function, first, we are reading the data from the output pin of the IR sensor by using the digitalRead function, the digitalRead function checks the obstaclePin for whether it is HIGH or LOW (1 or 0).
Next, we have an if-else statement. In the if statement we are telling Arduino to turn ON the LED when the IR sensor detects any obstacle and display “Stop something is ahead” on the serial monitor.
The obstaclePin becomes HIGH when an obstacle is detected by the IR sensor. In the else statement, we are telling Arduino to keep LED OFF when there is no obstacle and to display “path is clear” on the Serial monitor.
void loop() {
hasObstacle = digitalRead(obstaclePin);
if (hasObstacle == HIGH) {
Serial.println("Stop something is ahead!!");
digitalWrite(LEDpin, HIGH);
}
else {
Serial.println("Path is clear");
digitalWrite(LEDpin, LOW);
}
delay(200);
}
read more : Top 10 Arduino Projects for Beginners
Conclusion:
In this blog, we learnt that IR sensors are extremely adaptable and may be utilized for a wide range of applications, including motion detection and temperature measurement. With so many various types of IR sensors available, you must select the best one for your project.
You may include infrared sensor technology into your next project with ease if you know how to connect an IR sensor module to an Arduino board. You may quickly get up and running by uploading the code to your Arduino board by following the instructions in the code description!
The applications for IR sensors are endless, regardless of expertise level as a hobbyist electronics builder. So why not get started right away and see what this amazing technology can accomplish!?
If you appreciate our work don't forget to share this post and leave your opinion in the comment box.
Please do check out other blog posts about Arduino Interfacing ACS712 with Arduino , Arduino Interfacing with Ultrasonic Sensor , LED Interfacing with Arduino , Interfacing GSM Module with Arduino , Interfacing MAX30100 Pulse Oximeter with Arduino , How to connect ZMPT101B to Arduino and How to use Buzzer with Arduino.
Make sure you check out our wide range of products and collections (we offer some exciting deals!)