Introduction
In the realm of electronics and DIY, Arduino is welcoming to all enthusiasts of any skill level to explore the very exciting universe of various microcontrollers.
If a beginner decides to enter the world of Arduino, they are in for a journey of discovery and extraordinary creation. In this blog, we will dive into the world of Arduino by introducing everyone to the 10 captivating projects chosen specifically for beginners.
Arduino now has become one of the most important tools for electronics and the robotics field. It bridges the gap between technology and creativity.
Whether you're new to programming or an experienced coder, these projects encourage your imagination while teaching you the essentials.
These projects have all been carefully chosen to provide you firsthand experience with many of the main components, applications, and coding concepts.
This blog will help you unleash Arduino's full potential.
read more : Top 10 Arduino Projects to Get Started With
Project 1: Traffic Light Simulation

Project Description:
Constructing a traffic light simulator is going to be fun and it also help in our comprehension of programming and hardware interfaces. so let's start.
We have always been attracted by the operation and color changes of traffic lights. We will use Three LEDs in this project to simulate the sequence of traffic lights (red, yellow, and green).
By starting with this project, we will be able to learn to control lights sequentially and with different timing. Other than the hardware part we will also be able to grasp programming knowledge like conditional statements.
Post creating this project we will be able to understand how real-world traffic lights work and how they maintain order and safety.
Components Required:
- Arduino Board
- Three LEDs (Red, Yellow, Green)
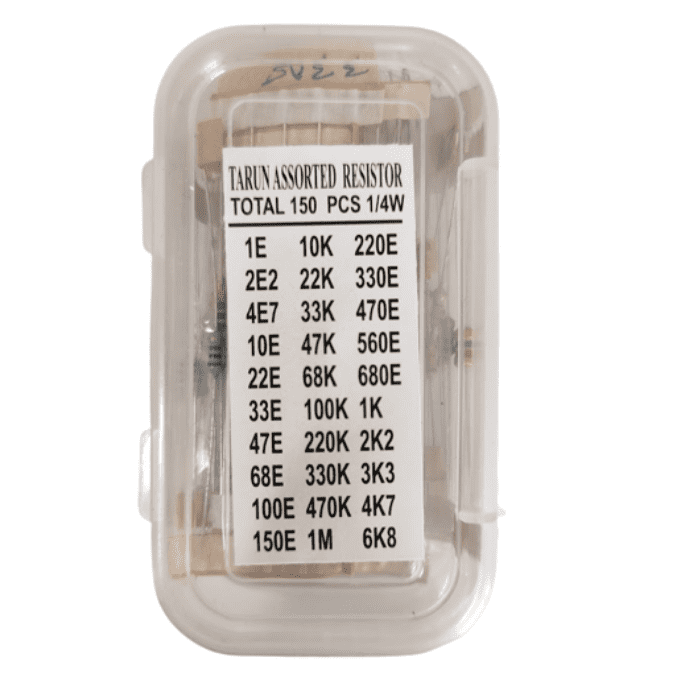
- Resistors
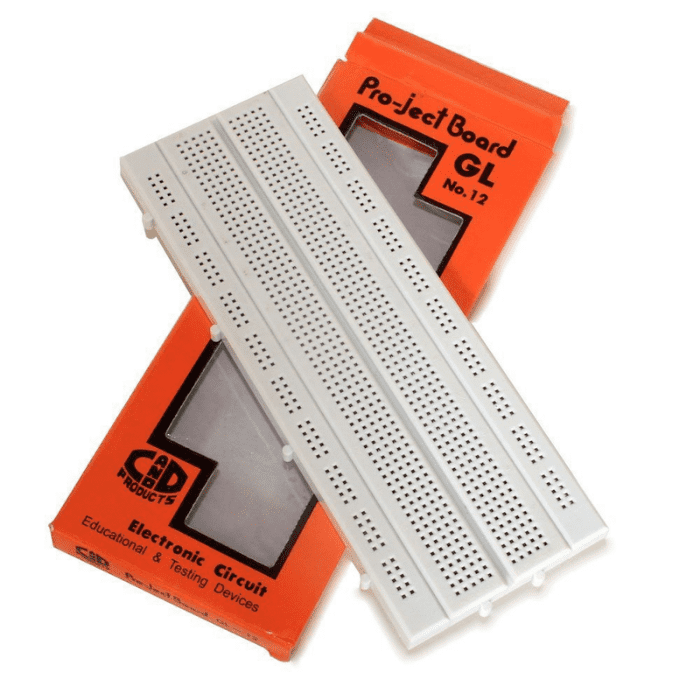
- Breadboard
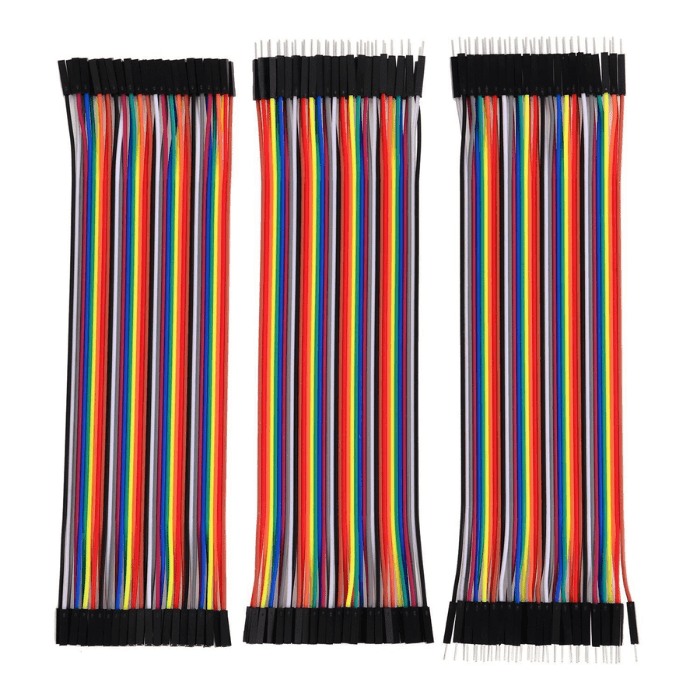
- Jumper Wires
read more : Temperature Sensor Interfacing with Arduino
Project 2: Ultrasonic Distance Measurement

Project Description:
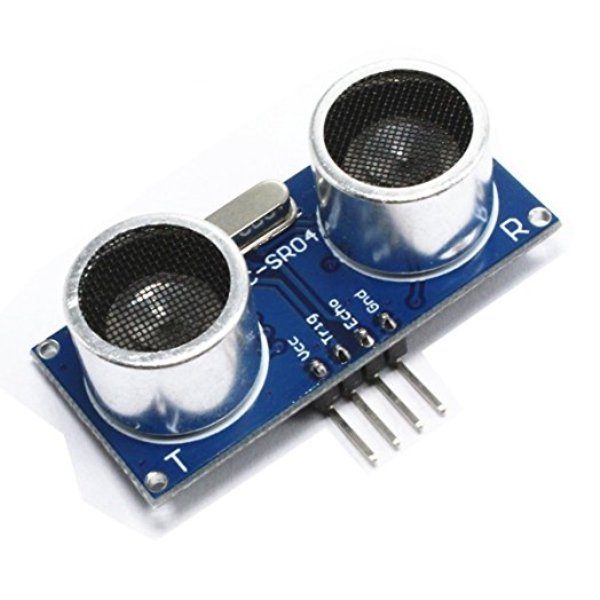
The main part of this project is the ultrasonic sensor, which is one of the most fascinating sensors that we can come across. The sensor mimics animals like bats and dolphins which use sound waves to navigate.
This interesting natural phenomenon is the fundamental use of the ultrasonic sensor. we will be able to measure distances at high accuracy using sound waves.
By using an ultrasonic sensor, we will be able to explore the world of sensors and even gain hands-on experience in the real world.
Once we gain knowledge on how to use this sensor, we will be able to interface it with many other fascinating sensors to make different systems that have practical applications.
This project is extremely fascinating and it also introduces us to many things which is used in real-world applications like robotics.
Also, read our blog on Smart Dustbin using Arduino detailing how to make a smart dustbin using Arduino Uno, an ultrasonic sensor, and an SG-90 servo motor.
Components Required:
read more : Obstacle Avoidance Robot with Ultrasonic Sensors using Arduino
Project 3: Temperature and Humidity Monitor

Project Description:
Environment monitoring and examining its conditions is a crucial aspect in many applications, from automation systems, and household uses to even irrigation and agriculture.
Monitoring the temperature and humidity can be extremely important in farming to maintain crop health and improve growth rates.
With this project, we can gain more knowledge about the sensors like how they work and how to connect humidity and temperature sensors to accurately monitor the environment with this system.
We can get a deeper knowledge of the changes in the environment when we can track and see the data on the LED screen. This also helps us to make early preparations based on the data.
Components Required:
read more : How NRF24l01 Arduino Nano Works
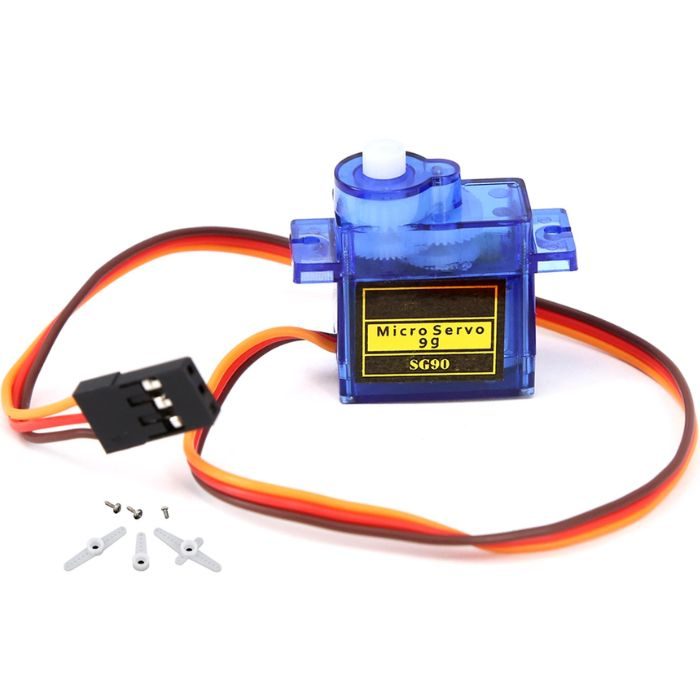
Project 4: Servo Motor Control

Project Description:
We all have wondered how robotic arms and automated systems move seamlessly and accurately.
This project introduces us to servo motors which is an ingenious device that transforms electrical signals given to them into accurate mechanical motion.
By mastering servo motor control, we will be able to unlock the ability to create projects that involve precise movements.
There are many traditional motors that spin continuously at an angle but servo motors are made to rotate to specific angles and can the position of it can be controlled.
By using Arduino, we can control this fascinating motor we not only learn how this marvel works but it also opens many doors for us to explore other creative possibilities.
Components Required:
Project 5: LCD Display

Project Description:
Visual interactions are always intriguing and captivating. Sometimes with Arduino projects, it often involves displaying information to the users.
This is where LCD (Liquid Crystal Display) modules come into play. These modules serve as a visual gateway into our projects, enabling us to display the data that we gather as well as messages, and graphics that elevate user experiences.
By mastering the interfacing of an LCD with Arduino, we are unlocking a door to creating projects that exceed mere functionality and offer a creative visual experience.
In this project, we will be able to learn how to interface an 16x2 LCD with Arduino or any other LCD display size, which will enable us to create projects that can provide visual feedback and user interaction.
Components Required:
- Arduino Board
- LCD Display (16x2 or 20x4)
- Potentiometer (for contrast adjustment)
- Breadboard
- Jumper Wires
read more : Exploring LCD Displays and Arduino UNO
Project 6: PIR based Alarm System

Project Description:
We might have wondered how the security systems in shopping complexes and malls work and alarm the security team in case of intrusion.
The advancement in these technologies has been immense. Security and surveillance play an important role, especially in modern life. This project introduces us to the world of surveillance and security by creating a basic and small-scale version of advanced security systems.
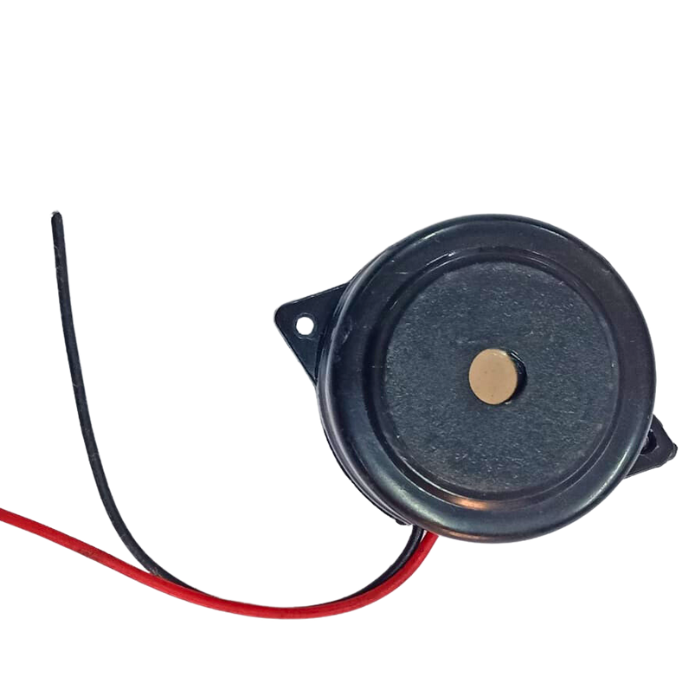
This Arduino-based alarm system combines a passive infrared (PIR) motion sensor and a buzzer which can help us mimic the large-scale system accurately.
By doing this project we will be able to develop a system that detects motion and sounds. This can be implemented in a small environment for testing and can produce tremendous results.
Components Required:
read more : Interfacing Proximity Sensors with Arduino
Project 7: 8×8 LED Matrix MAX7219 with Arduino Circuit

Project Description:
Simulating lights would be easier now if you would have done the traffic lights simulation. Synchronous and asynchronous simulation might look cool but making patterns with lights might just be even cooler.
This is possible using LED matrices. LED matrices are very captivating, it creates a visual display, multiple patterns, and even simple animations. We can do a variety of different things using these matrices.
This project guides us through connecting an 8x8 LED matrix using the MAX7219 driver with an Arduino.
This might look complex but it is absolutely beginner friendly. We can move to even bigger matrices to create more exciting patterns and animations.
By completing this project, we will learn how to control individual LEDs within a matrix, which enables us to create a visual splendid.
Components Required:
- Arduino Board
- 8x8 LED Matrix
- MAX7219 LED Driver Module
- Jumper Wires
read more : LED Interfacing with Arduino
Project 8: Anti-Theft Alarm System Using Force Sensor

Project Description:
Security is crucial in this day and age, especially with increased cases of theft and robbery. Some places have protection against such cases with advanced systems to eliminate theft.
Small projects can also be effective and this project goes even further by introducing an anti-theft alarm system which is human ingenuity meets cutting-edge technology.
It utilizes a force sensor to detect unwanted intrusion or entry, which is another innovative sensor.
By setting up this system, we will gain insight into creating a basic but effective security solution that can be used to protect valuables or any entry points in a place.
This project can lead to many advanced setups and unknown doors of creativity that has yet to be discovered.
Components required:
- Arduino UNO / NANO
- FSR Force Sensor
- 16x2 I2c LCD Display
- Push Button
- Buzzer
- LED
- Resistor 330, 1k, 10k
- Wires
- Breadboard
read more : Smart Security System
Project 9: RFID-Based Access Control

Project Description:
Enter the realm of advanced security with the RFID Based Access Control system, where convenience and protection blend.
This project has the power of Radio-Frequency Identification (RFID) and Arduino, offering us an advanced and futuristic way to manage access and increase security.
This will help us from unauthorized access in any place we want to. Most of the offices might use this system. Radio-Frequency Identification (RFID) technology has been used in various applications, from access control systems to inventory management.
In this project, we will learn how to interface an RFID reader with Arduino to read and identify RFID tags or cards.
This practical project helps us in understanding data communication between components and also will help us in understanding how advanced security systems work.
Components Required:
- Arduino Board
- RFID Reader (MFRC522 or similar)
- RFID Tags or Cards
- Breadboard
- Jumper Wires
read more : How to Setup Fingerprint Sensor with Arduino
Project 10: Fluid Flow Rate and Volume Monitor

Project Description:
With accuracy and no guessing, you can now measure water flow. You can get accurate water flow measurements using this project.
Accurate estimation of water flow rate and volume is essential for several uses, such industrial operations, industrial irrigation, and water supply monitoring.
This can help us deeply with water flow management and regulating excess water flow. This is a practical project that helps us in conserving water.
This project guides us through interfacing a flow sensor with Arduino to measure the rate at which the water flows through a pipe and also calculate the total volume passed.
By building this project, we will be able to learn about fluid dynamics and data processing.Components Required:
- Water Flow Sensor
- Arduino UNO
- LCD (16x2)
- Connector with internal threading
- Connecting wires
- Pipe
read more : Top 10 Robotic Projects for Beginners
Conclusion
These top ten beginning projects are only the beginning of the endless possibilities Arduino offers for electrical creativity.
From imitating traffic signals to keeping an eye on temperature, humidity, and fluid movement, you'll learn by doing. Every assignment provides real-world experience and a feeling of accomplishment.
Discover RFID technology's ability to operate LCDs, servos, LEDs, and other devices, providing a look into the amazing potential that awaits. With an Arduino in hand, use your creativity to guide you in creating your own technological wonders based on these principles.
Now is an excellent moment to get into Arduino and realize your full potential!
If you appreciate our work don't forget to share this post and leave your opinion in the comment box.
Please do check out other blog posts about Popular electronics
Make sure you check out our wide range of products and collections (we offer some exciting deals!)