Introduction:
The Arduino is a simple and wonderful platform that allows students to learn about microcontrollers. The flexibility and creativity of the Arduino have been highlighted in multiple projects. In this blog, we will go through 10 simple and basic projects that are perfect for anyone who is new to Arduino. From LED lights to some amazing projects, we will learn the basics of programming and electronics.
Arduino is currently a key component in the domains of robotics and electronics. It gives people the opportunity to explore the gap between technology and creativity. Whether you are a new learner or a professional, working with Arduino projects may help you develop a strong base, enabling your imagination to reach the next level.
In order to give the students hands-on experience with different components (sensors and actuators), and programming concepts with the Arduino board, each project has been carefully selected. From the making of blinking LED lights to showing a real-time clock or a lot else, these projects are designed to unleash the creative potential of individuals. The combination of technology and creativity allows students to not only understand the technical features of Arduino but also encourages them to think outside the box and come up with unique and innovative ideas.
Let's take a tour of the Arduino world and explore some of the most brilliant projects which will bring your creativity to you, if you are ready for an exciting adventure in discovering, learning, and innovation. This blog is for all of us who are a student, an enthusiast or simply interested in electronics to explore the endless possibilities of Arduino.

Project 1: LED Blinking and Serial Communication
Every programming journey begins with a "Hello World" equivalent. In the Arduino world, this means blinking the built-in LED and communicating with your computer through the serial monitor. In this project, we will learn how to interface an LED with the Arduino board and blink that LED, simultaneously we will print some messages on a serial monitor. To do this, connect the ground pin of the LED to the GND pin of the Arduino board and the other pin of the LED to the digital pin of the Arduino board using a resistor. When the LED glows, we will print "LED is on" on the serial monitor and when the LED is off, we will print "LED is off" on the serial monitor. To get this, we will use the “Serial.begin()” function in the Arduino code to initialize communication with the serial monitor. Then, within the `loop()` function, we will use “digitalWrite()” to turn the LED on and off by setting the corresponding digital pin to HIGH and LOW respectively. Along with this, we will use “Serial.println()” to print the desired messages on the serial monitor based on the LED state. Finally, we will add a delay between the LED states to control the blinking speed.

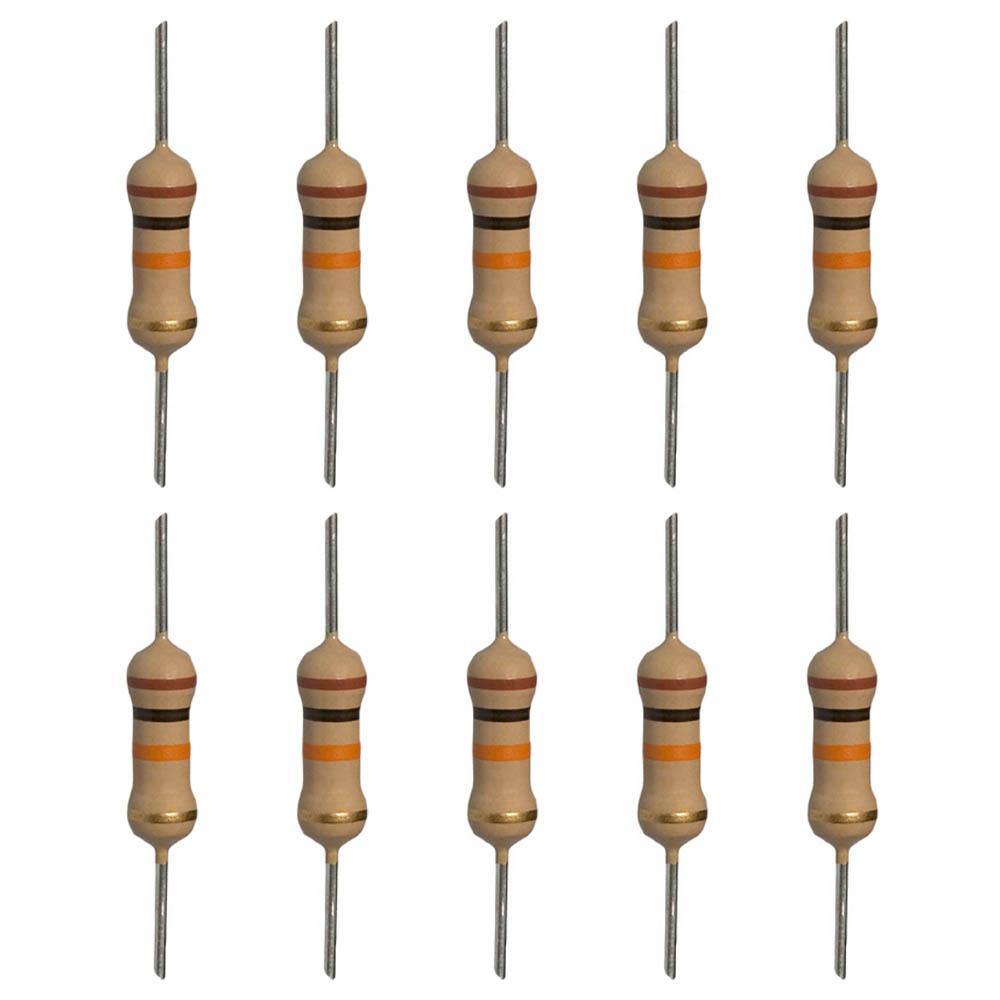
Components Required:
read more : Temperature Sensor Interfacing with Arduino
Project 2: Controlling LED using Switch and Potentiometer
In this project, you will control an LED using a push button or a potentiometer. With a push button, you can toggle the LED on or off by simply pressing the button. On the other hand, with a potentiometer, you can adjust the brightness of the LED by rotating the dial. Both the push button and the potentiometer provide different ways to control the LED. Additionally, you will gain practical knowledge about how we control an LED using a push button and a potentiometer and learn the basics of Arduino programming. By connecting the push button or potentiometer to the Arduino board, you can program the board to read the input and control the corresponding LED accordingly.

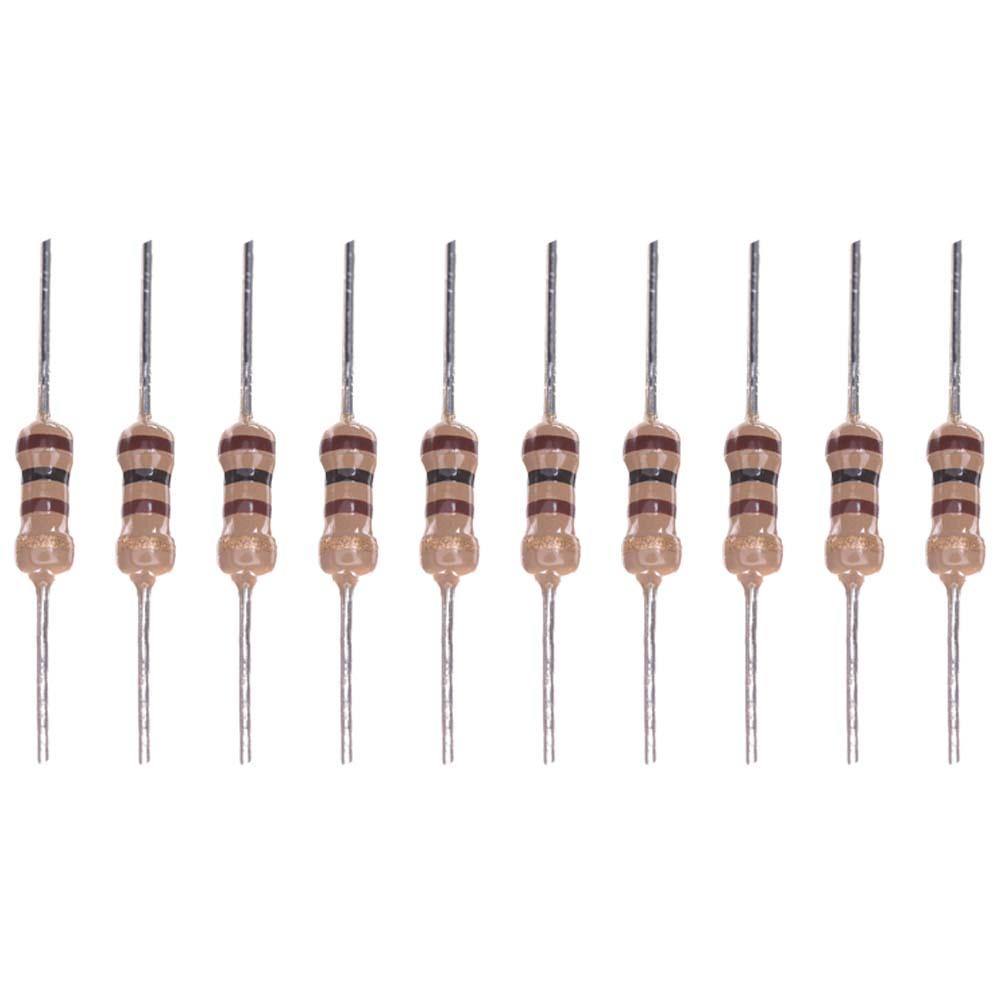
Components Required:
read our blog explaining the ir sensor interfacing with arduino, provides comprehensive information about IR sensors and their applications in Arduino projects.
Project 3: Temperature monitor using LM35
This project will show how to interface the LM35 sensor with the Arduino board and display the measured data on the serial monitor. To measure the temperature and humidity data, connect the GND and Vin pin of the sensor to the Ground and the 5V pin of the Arduino board. And then connect the signal pin to the analog pin of the Arduino board, which reads the temperature and humidity data. The Arduino board then processes the data and sends it to the serial monitor for display. This project provides us with a simple and effective way to monitor and display temperature data on the serial monitor using the LM35 sensor and Arduino board.

Components Required:
- Arduino Uno Board
- LM35 sensor
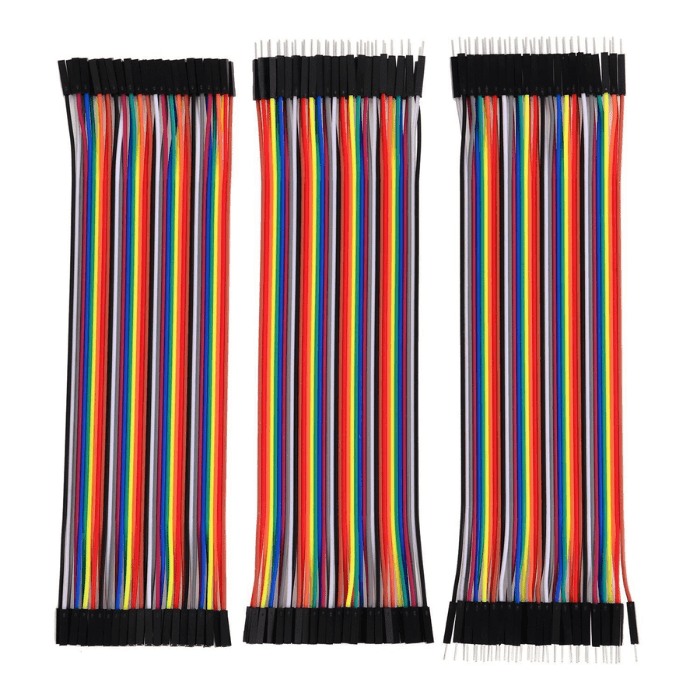
- Jumper wires.
read more : Arduino Uno Pin Diagram: A Complete Guide
Project 4: Controlling the Buzzer Tone
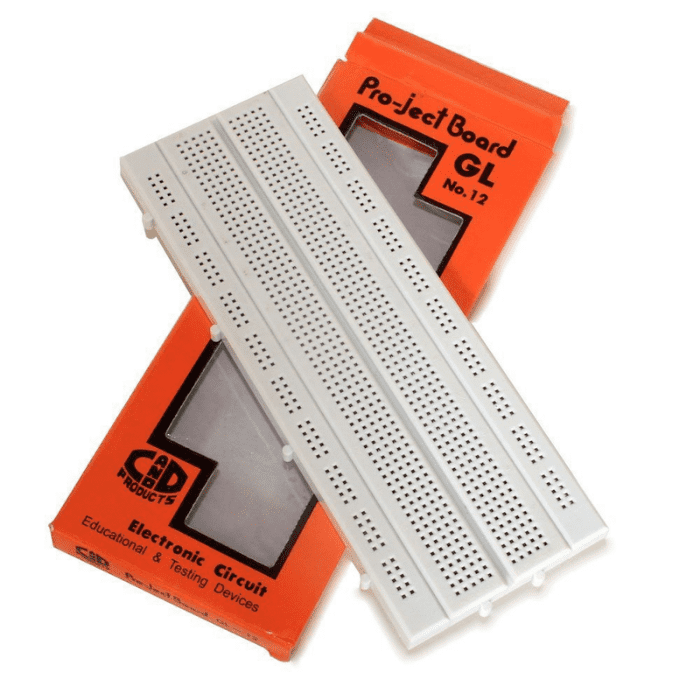
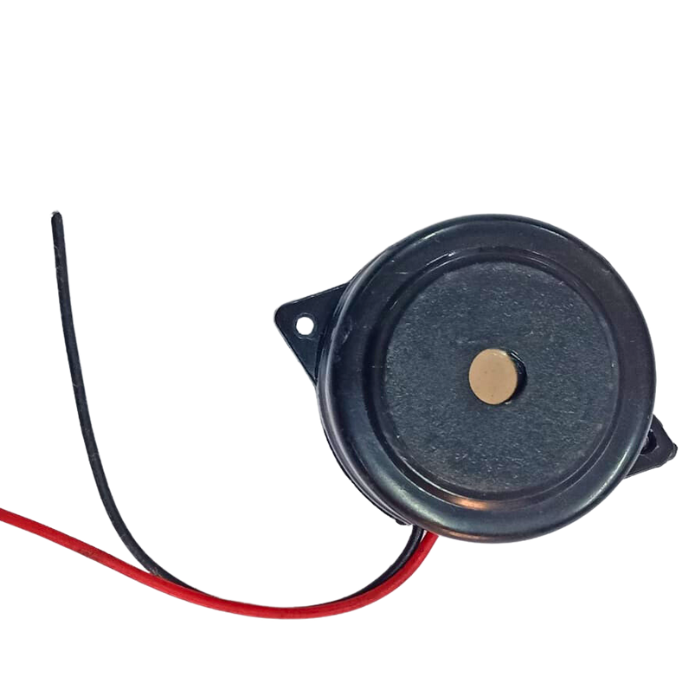
In this project, you will change the tone of the buzzer using an Arduino board. By adjusting the frequency and duration of the buzzer's tones, you can create a variety of sounds and tunes. Using Arduino programming, you can adjust the buzzer's tone according to your requirements, whether you want to produce a relaxing tune or an attractive sound. for this, connect the ground pin of the buzzer to the Arduino board through a breadboard and the other pin to one end of the resistor. and then connect the other end of the resistor with the digital pin of the Arduino board. Using the tone() function, we change the tone of the buzzer and create some amazing sound through it.

Components Required:
read more : ARDUINO BASED WATER LEVEL MONITORING
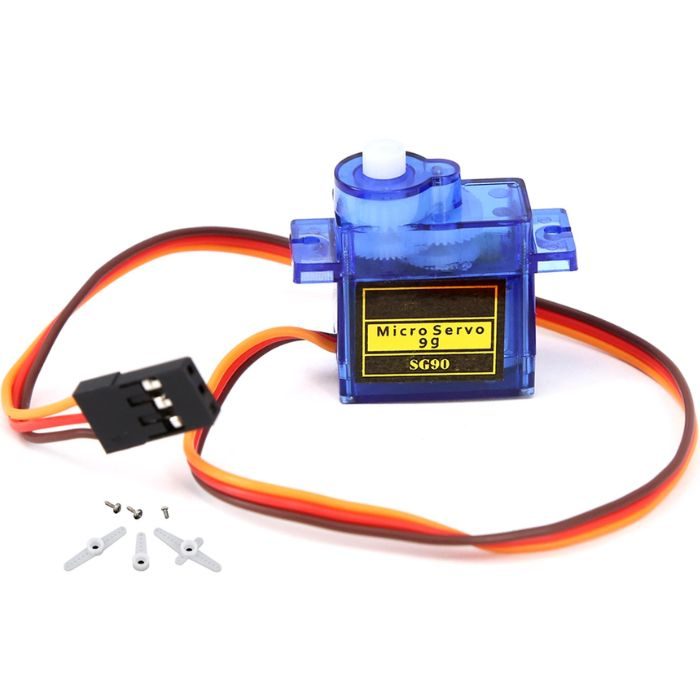
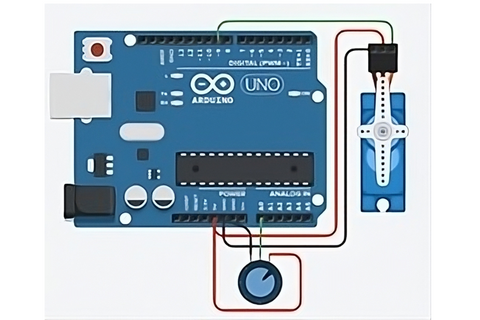
Project 5: Arduino controlled Servo Motor
This project will show how to interface the servo motor with the Arduino board and control it using a potentiometer. By connecting the servo motor to the Arduino board, we can change its position and movements easily. Additionally, by changing the value of the potentiometer, we can adjust the angle of the servo motor according to our desired position. For this, connect the servo motor ground and vcc pins to the GND and 5V pins of the Arduino board, and the signal pin of the servo motor to the PWM pin of the Arduino board. then connect one end of the potentiometer, the other end of the potentiometer to the 5-volt pin of the Arduino board, and the middle pin to the analog pin of the Arduino board. Now you can control the servo motor with the potentiometer using Arduino programming.
Components Required:
read more : Top 10 Robotic Projects for Beginners
Project 6: Light controlled by LDR
In this project, we will be learning how to control the LED using an LDR sensor and the Arduino board. We will do this by programming a threshold value into the Arduino code. If the amount of light falls below the threshold (its mean darkness), the LDR sensor will trigger the Arduino board to send a signal to turn on the LED. This will enable the LED to turn on automatically whenever it's detecting darkness. By using the LDR sensor and the Arduino board, we can make a simple and useful device for automatically controlling the light.

Components Required:
read more : Water Level Indicator: Interfacing water level sensor With Arduino
Project 7: Printing messages on LCD display
We will learn how to connect the LCD display to the Arduino board and use it in this project. LCD displays are very popular and broadly used in many electronics projects because they are great for displaying simple information like sensor data and custom characters as well. For the LCD display, we will be using the LiquidCrystal library in Arduino programming to display text, numbers, and custom characters on the LCD display. By connecting the LCD display to the Arduino board, we can create amazing projects that display user inputs by the Arduino board and the real-time data also.

Components Required:
read more : Arduino Nano to Server using IOTIF LoRa
Project 8: LED Dot Matrix Control
In this project, we will connect the dot matrix display with the Arduino board and display different patterns and shapes. By using Arduino programming and the dot matrix library, we can easily control the individual LEDs on the dot matrix display. We are using the 8*8 LED matrix MAX7219 with the Arduino board to create various patterns and shapes, such as letters, numbers, and even animations. For this, connect the DIN, CLK, and CS pins of the dot matrix display to the digital pins 13, 11, and 10 of the Arduino board, and the Vcc and GND pins of the display to the 5 volt and GND pins of the Arduino board. Once the connections are made, we can start programming the Arduino to display different shapes.

Components Required:
read more : IoT and DIY Smart Car Starter Kit
Project 9: Smart door lock system
Using an Arduino board, a keypad, and a servo motor, we will build a smart door lock system in this project. By giving the correct password using the keypad on the Arduino board, we can control the servo motor to open the door. It's similar to creating a digital lock that requires a secret password. By using an Arduino board, keypad, and servo motor, we can build a smart door lock system that tells us about password-based security systems. This project describes us how we can use passwords to protect our personal data.

Components Required:
read more : What is Arduino Nano
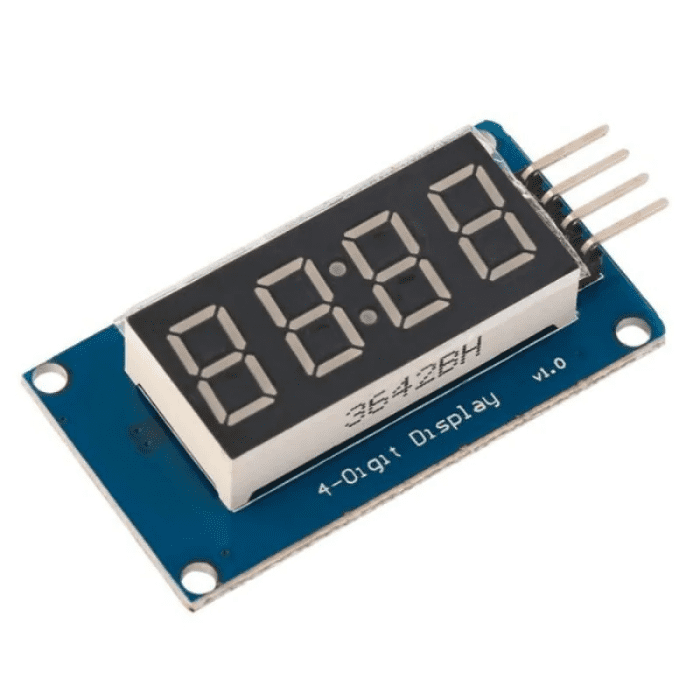
Project 10: Digital Clock
In this project, you will learn how to connect TM1637 4-digit, 7-segment displays with Arduino and show them in real-time. You can even display numbers, letters, and custom symbols on this display also. Using a RTC module and the Arduino board, we can easily create a clock and display on the 4-digit 7-segement display. By connecting the TM1637 display and RTC module with Arduino, you can program the Arduino board to correctly show the current time, including hours, minutes, and seconds. This project will increase your understanding of how to use RTC module and connect them easily with Arduino for showing real-time.

Components Required:
read more : Arduino Sensor types and Applications
Conclusion:
These top 10 Arduino projects provide an exciting journey into the world of electronics and programming. From the simplicity of LED blinking to the sophistication of a digital clock and smart door lock system, this list offers a well-rounded learning experience for beginners and enthusiasts alike. By mastering these projects, you'll gain valuable insights into sensor integration, motor control, and display technologies. So, pick your favorite project and dive in! Whether you're a hobbyist or aspiring engineer, Arduino empowers you to bring your creative ideas to life. Don't wait – start your Arduino adventure today and watch your skills shine bright!
If you appreciate our work don't forget to share this post and leave your opinion in the comment box.
Please do check out other blog posts about Popular electronics
Make sure you check out our wide range of products and collections (we offer some exciting deals!)