Introduction
Welcome to our comprehensive guide on "Water Level Indicator: Interfacing Water Level Sensor With Arduino." In this step-by-step tutorial, we will walk you through the process of building a water level indicator using an Arduino board and a water level sensor. With this project, you will gain valuable insights into water management and conservation, making a positive impact on the ongoing water crisis.
Water is a precious resource, and with the increasing population and rapid urbanization, proper water management has become a pressing issue in India. The nation is facing a water crisis, where the demand for water is surpassing the available supply. This has led to water scarcity in many regions, impacting agriculture, industries, and daily life.
Introducing the Water Level Indicator Project with Arduino
To address the water crisis and promote water conservation at an individual level, the water level indicator project using Arduino comes to the rescue. This mini water management system allows you to monitor the water level in your water tank effectively. By interfacing the water level sensor with the Arduino UNO, you can build a simple yet efficient water level indicator that provides real-time information about the water level in the tank. This empowers you to make informed decisions about water usage and avoid unnecessary wastage.
read our blog explaining interfacing temperature sensor with arduino, which provides a detailed guide on interfacing the LM35 temperature sensor with an Arduino board.
Understanding the Water Level Sensor
Overview of the Water Level Sensor

The water level sensor is a critical component of the water level indicator project. It is designed to detect water levels and provide an output based on the resistance of the water present in the tank. The sensor consists of a series of parallel exposed conductors, acting as a variable resistor. When submerged in water, the sensor's resistance changes, allowing it to indicate different water levels.
Hardware Outline of the Water Level Sensor
The water level sensor comprises ten exposed copper traces, with alternate copper and sense traces. These traces form a bridge when immersed in water, affecting the conductivity and, subsequently, the resistance. The sensor also includes an onboard power LED for power indication.
Working Principle of the Water Level Sensor
The sensor operates based on the principle of variable resistance. As more water is present in the tank and the sensor is submerged, the conductivity increases, leading to lower resistance. Conversely, less water results in higher resistance. The sensor's analog output is proportional to the resistance, allowing you to determine the water level.
read more : How to connect ZMPT101B to Arduino
Pin Description of the Water Level Sensor

The water level sensor has three pins:
- S (signal pin): An analog output connected to the Arduino's analog pin.
- +VCC: The power pin, accepting input voltage from 3.3V to 5V.
- -GND: The ground pin.
Components Required for the Project
List of Components for Building the Water Level Indicator
To build the water level indicator, you will need the following components:
- Water level sensor
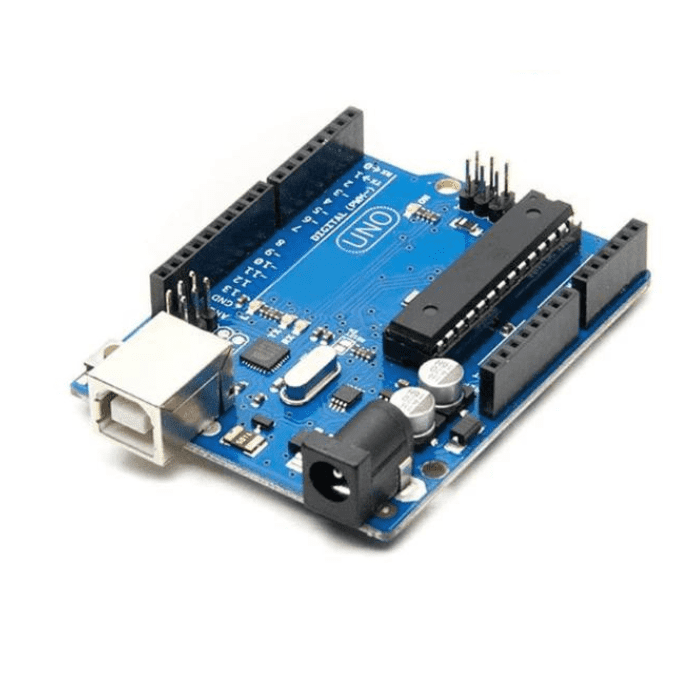
- Arduino Uno
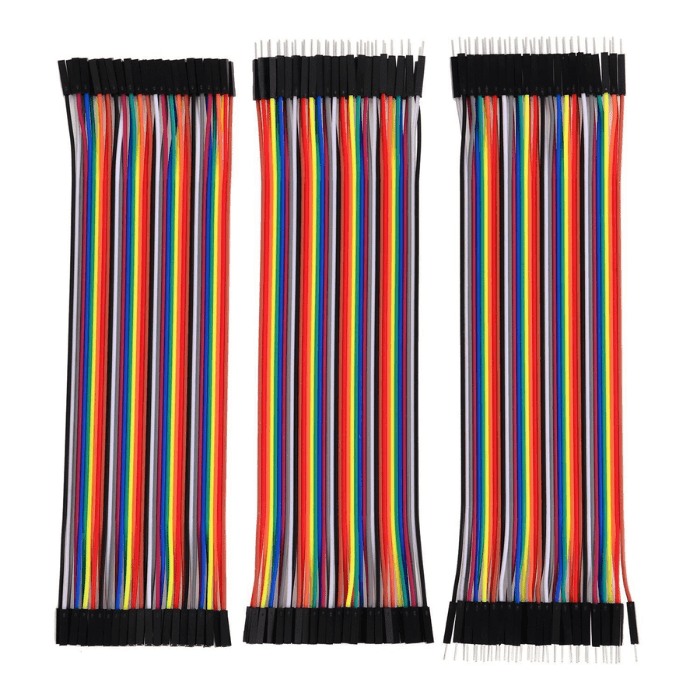
- Jumper wires
- LEDs (Red, Yellow, Green)
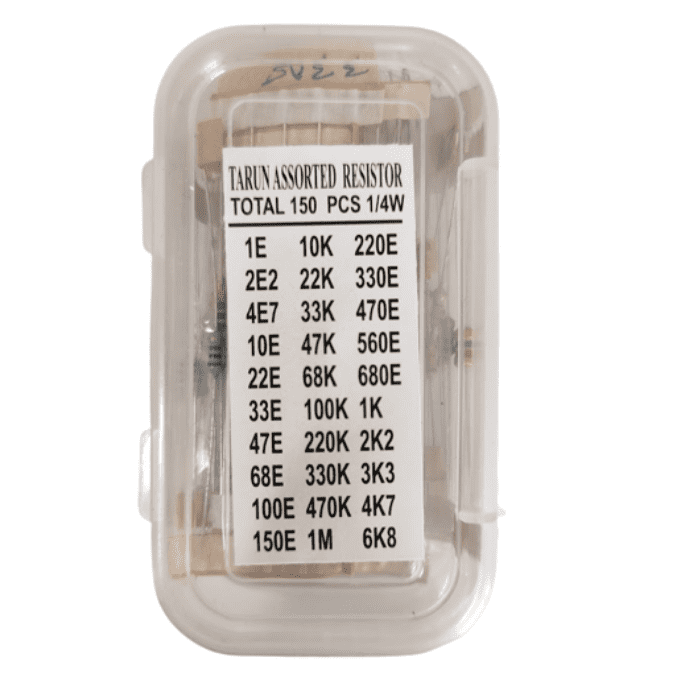
- Resistors
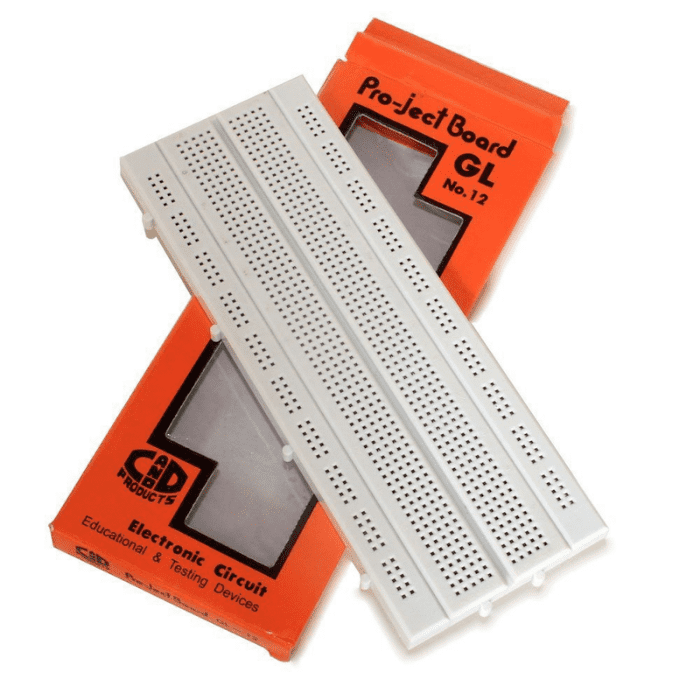
- Breadboard
read more : IR Sensor Interfacing with Arduino
Understanding the Role of Each Component
Each component plays a vital role in the functionality of the water level indicator. The water level sensor detects water levels, the Arduino Uno processes the sensor data, and the LEDs provide visual indications. Jumper wires, resistors, and the breadboard ensure proper connections and circuit stability.
Calibrating the Water Level Sensor
The Importance of Calibrating the Water Level Sensor

Calibrating the water level sensor is crucial to ensure accurate readings and reliable performance. It involves determining the sensor outputs for different water levels, such as completely dry, partially submerged, and fully submerged.
Step-by-Step Guide for Calibrating the Sensor
Calibrating the water level sensor may require some trial and error. Start by noting the readings for different water levels and adjust the threshold values in the Arduino code accordingly. Once properly calibrated, the sensor will provide precise data for effective water level monitoring.
read more : Interfacing MPU-9250 9-DOF Sensor with Arduino
Interfacing the Water Level Sensor with Arduino
Interfacing Diagram for Connecting the Sensor with Arduino

To interface the water level sensor with the Arduino Uno, follow the provided diagram. Connect the sensor's signal pin to the Arduino's A0 pin, VCC to Digital pin 7, and GND to the Ground.
Code
After completing your circuit, upload the provided code to your Arduino software. The code uses two variables, Upper Threshold & Lower Threshold, to represent the threshold levels. When the water level is below the lower threshold, the red LED will turn on. When the water level is above the upper threshold, the green LED will turn on. If the water level is between these two levels, the yellow LED will turn on.
/* Change these values based on your calibration values */
int lowerThreshold = 420;
int upperThreshold = 520;

// Sensor pins
#define sensorPower 7
#define sensorPin A0

// Value for storing water level
int val = 0;

// Declare pins to which LEDs are connected
int redLED = 2;
int yellowLED = 3;
int greenLED = 4;

void setup() {
	Serial.begin(9600);
	pinMode(sensorPower, OUTPUT);
	digitalWrite(sensorPower, LOW);

	// Set LED pins as an OUTPUT
	pinMode(redLED, OUTPUT);
	pinMode(yellowLED, OUTPUT);
	pinMode(greenLED, OUTPUT);

	// Initially turn off all LEDs
	digitalWrite(redLED, LOW);
	digitalWrite(yellowLED, LOW);
	digitalWrite(greenLED, LOW);
}

void loop() {
	int level = readSensor();

	if (level == 0) {
		Serial.println("Water Level: Empty");
		digitalWrite(redLED, LOW);
		digitalWrite(yellowLED, LOW);
		digitalWrite(greenLED, LOW);
	}
	else if (level > 0 && level <= lowerThreshold) {
		Serial.println("Water Level: Low");
		digitalWrite(redLED, HIGH);
		digitalWrite(yellowLED, LOW);
		digitalWrite(greenLED, LOW);
	}
	else if (level > lowerThreshold && level <= upperThreshold) {
		Serial.println("Water Level: Medium");
		digitalWrite(redLED, LOW);
		digitalWrite(yellowLED, HIGH);
		digitalWrite(greenLED, LOW);
	}
	else if (level > upperThreshold) {
		Serial.println("Water Level: High");
		digitalWrite(redLED, LOW);
		digitalWrite(yellowLED, LOW);
		digitalWrite(greenLED, HIGH);
	}
	delay(1000);
}

//This is a function used to get the reading
int readSensor() {
	digitalWrite(sensorPower, HIGH);
	delay(10);
	val = analogRead(sensorPin);
	digitalWrite(sensorPower, LOW);
	return val;
}
Code Explanation for Arduino to Interface with the Sensor
Upload the provided code to your Arduino software. The code uses threshold values to determine the water level and controls the LEDs accordingly. Red LED indicates low water, green LED indicates high water, and yellow LED indicates medium water level.
read more : Arduino Interfacing with Ultrasonic Sensor
Understanding the Water Level Indicator Output
Explanation of the Water Level Indicator Output
The water level indicator output is in the form of LED indications. Based on the water level, the corresponding LED will light up, providing a visual representation of the tank's status.
Understanding the LED Indications for Different Water Levels
When the water level is below the lower threshold, the red LED will turn on, indicating low water. If the water level is between the lower and upper thresholds, the yellow LED will be on, indicating medium water level. When the water level is above the upper threshold, the green LED will light up, indicating high water.
Practical Applications of the Water Level Indicator
Implementing the Water Level Indicator in Various Scenarios
The water level indicator finds applications in domestic and commercial water storage systems, ensuring timely refilling or pumping as needed.
Potential Uses and Benefits in Different Environments
The water level indicator can be used in residential buildings, industries, agriculture, and even in water tanks of remote areas where water supply is scarce.
read more : HOME AUTOMATION USING ARDUINO AND BLUETOOTH
Conclusion
The water level indicator project with Arduino offers a simple yet effective solution to tackle the water crisis at an individual level. By understanding the water level sensor, calibrating it, and interfacing it with Arduino, users can monitor their water usage and promote water conservation.
Implementing the water level indicator project not only benefits the individual but also contributes to the broader goal of water conservation and sustainability. By taking the first step towards efficient water management, readers can play a part in addressing the water crisis and creating a more sustainable future for all.